Creating A Grid In Illustrator
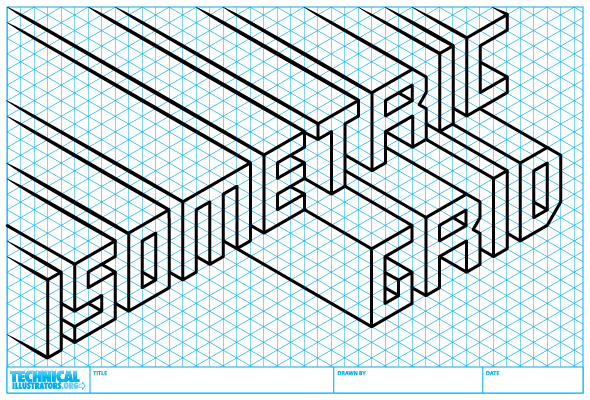
This is a very quick and easy tutorial for creating an isometric grid in Adobe Illustrator, which you can then either work directly over in Illustrator or print out for freehand sketching.
If you want to skip the tutorial and get working in isometric right away, download these completed grids in PDF format, ready for printing or import into Illustrator or Corel:
- Download 1/4″ (0.25 inch) Isometric Grid – Cyan
- Download 1/4″ (0.25 inch) Isometric Grid – Black
- Download 1/8″ (0.125 inch) Isometric Grid – Cyan
- Download 1/8″ (0.125 inch) Isometric Grid – Black
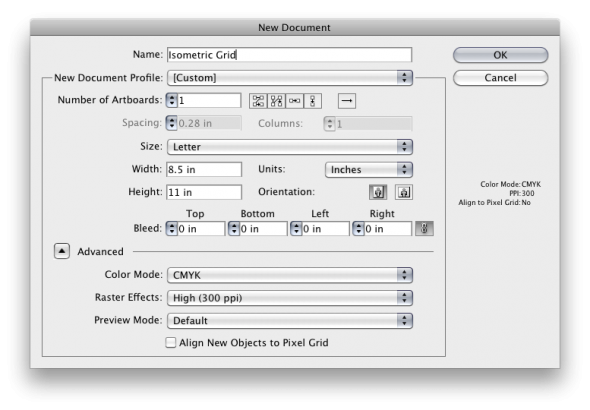
1. Create a new document (File > New…). In this case we're creating a grid we can print out, so we'll make it letter sized. Set the units to Inches.
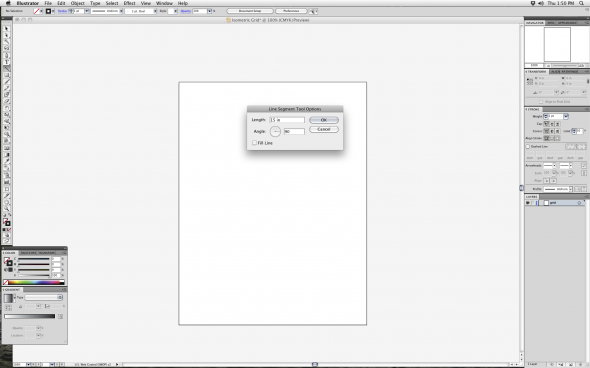
2. Draw a vertical line longer than the page. Select the Line tool [press the \ key] and click once (don't drag) or press Enter. Enter a length of 15 and angle 90 for a 15 inch vertical line.
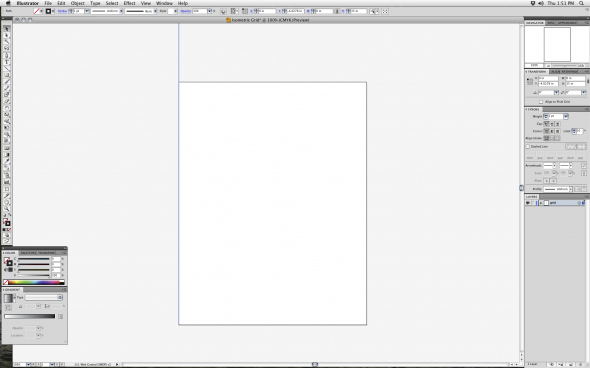
3. Move the line to the lower left corner. Using the Selection tool or "black arrow" [V] grab the line by the lower point and drag it to the lower left corner of the page. Your cursor should turn white when you're over it.
4. Set the Keyboard Increment to 0.125 in. Open the Preferences panel (File > Preferences > General or Illustrator > Preferences > General, or simply Ctrl/Command K). Type 0.125 for 1/8″ increments. Press OK.

5. Duplicate the line horizontally. Hold the Alt/Option key and press the Right arrow key. The line will be duplicated 0.125″, our increment setting, to the right of the original. Keep doing this until the duplicates run well off the page.
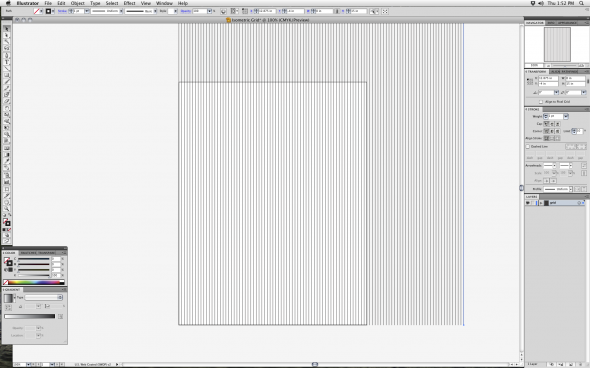
6. Rotate 60 degrees. Select all the lines (drag a marquee selection using the Selection tool [V] or press Ctrl/Command A). Select the Rotate tool [R] and press Enter. Type 60 for Angle. Hit Copy. Align the end of one of the lines to the top left corner.

8. Reflect. Select the Reflect tool and press Enter. Ensure the Vertical radio button is selected, then press Copy.
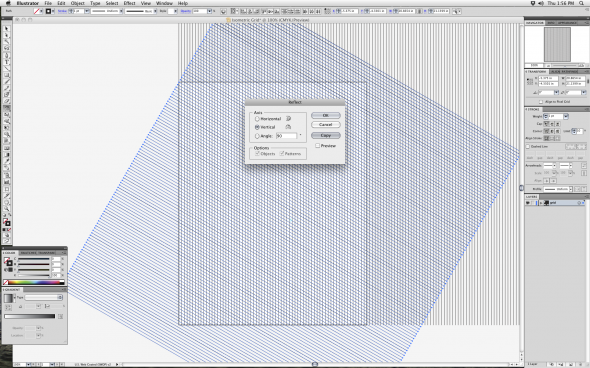
9. Check the alignment. The grid should look like this, all identical equilateral triangles.
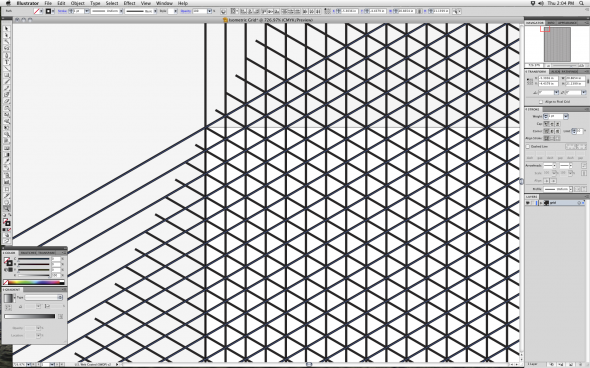
10. Select everything. Drag a marquee selection with the Selection tool [V] or press Ctrl/Command A. Group all the lines (Object > Group or Ctrl/Command G).
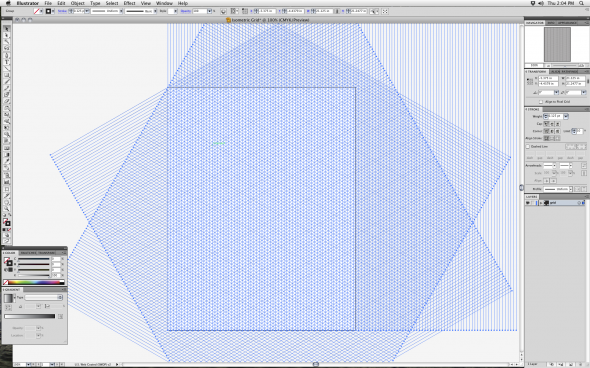
11. Draw a rectangle. Select the rectangle tool [M] and click (don't drag) on the top left corner. Make the rectangle 8 x 10.5 inches and press OK.

12. Position the rectangle. Press [Down] twice and [Right] twice. This will give us a 1/4″ border on all sides of the rectangle.
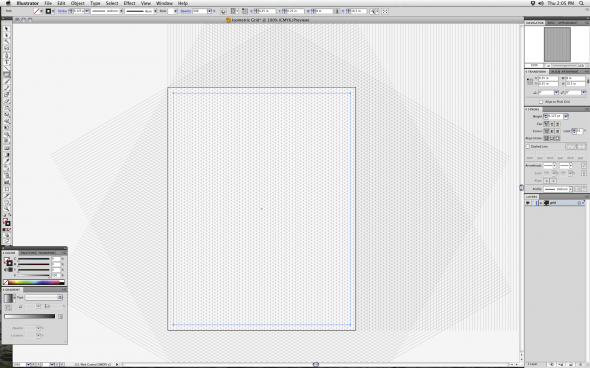
13. Select everything. Ctrl/Command A.

14. Create a clipping path. Object > Clipping Path > Make or Ctrl/Command 7. This will hide everything outside of the rectangle.
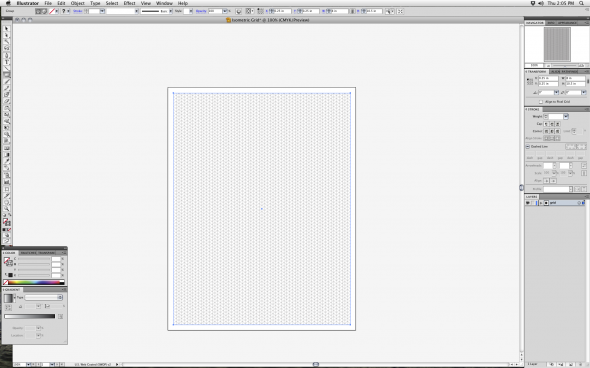
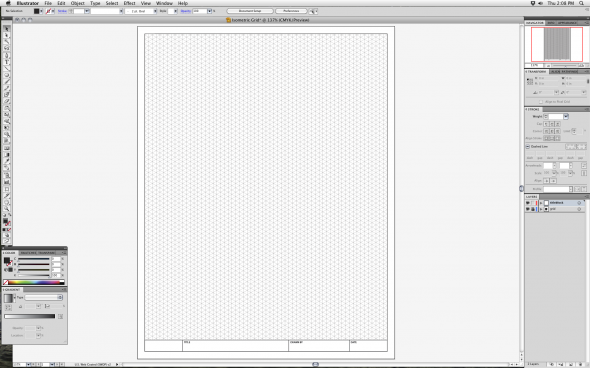
16. Add a title block (optional). Include your logo, a place for a title, your name and the date.
James Provost is a founding editor of Technical Illustrators.org as well as a freelance technical illustrator and editorial illustrator. His client list includes Google, Microsoft, Wired, Popular Mechanics, Men's Health and more. Say hello on Twitter @jamesprovost or Instagram.
Creating A Grid In Illustrator
Source: https://technicalillustrators.org/2011/02/how-to-create-an-isometric-grid-in-adobe-illustrator/
Posted by: stampernernat.blogspot.com

0 Response to "Creating A Grid In Illustrator"
Post a Comment